

This guide was initially published by @xvinsanity#9940 as a Google Slides presentation. During the conversion of this guide, @xvinsanity#9940 is a Notable Trader in LKS.
In this series, I will be teaching you how to trade cryptocurrency with Bybit. Due to the restrictions imposed, only US citizens are required to use a VPN.
Now, before I get started, I would like to formally let you know this is a demonstration only. I cannot be held responsible if you trade through a VPN or break the Bybit Terms of Service.
Sign Up for an Account
Registering an account is easy. Just head on over to https://www.bybit.com/register, and get yourself logged in! Optionally, you can also download their iOS and Android mobile apps as well!
Setting Up VPN
Due to Bybit restrictions, US citizens are not allowed to trade on their platform. However, there is a workaround.
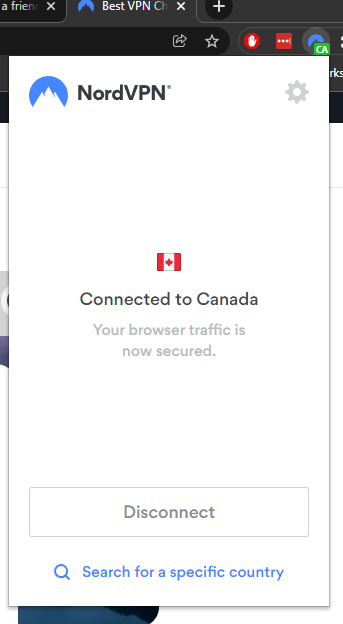
You are able to use a paid VPN service like NordVPN, or a free VPN browser like Opera to trade.

I suggest that you try the free VPN browser and try out Bybit first (unless you already are paying for a VPN service). Once you have become familiar with Bybit, it becomes more beneficial to trade with faster speeds since VPNs are slower (free VPNs are even slower) than the internet you have.
While trading, using the Canada or Mexico locations is preferred when in the United States. The closer the server is to you, the faster it becomes to trade.
Funding Your Bybit Account
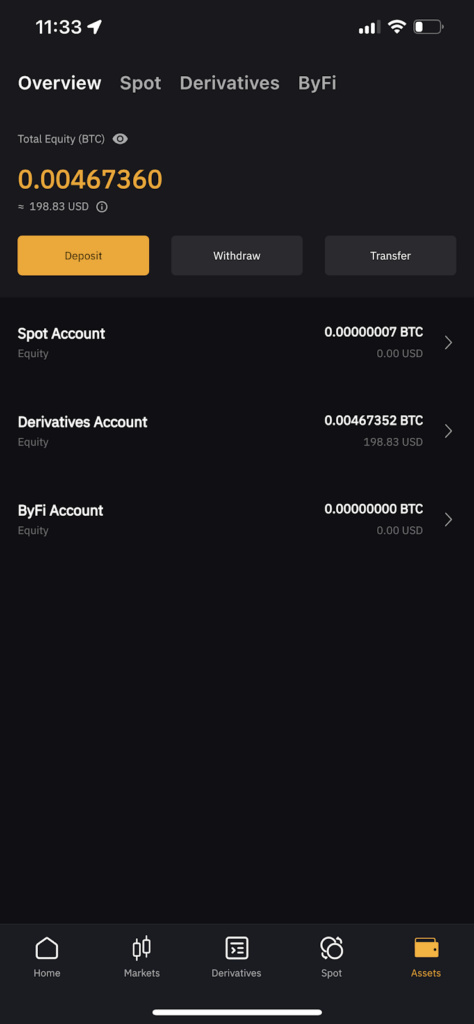
In this tutorial, I will be using an iOS device to trade. To fund your account, simply tap Assets located on the bottom right corner of the screen, then tap the yellow Deposit button.
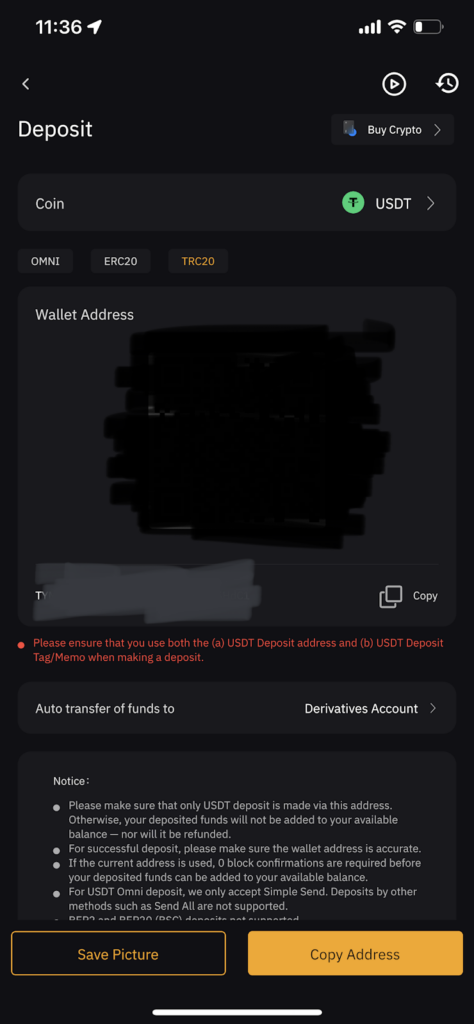
While in the Deposit screen, choose the coin that you want to deposit into Bybit. Next, go ahead and choose the network you would like to send your coin from. From the screenshots above, there are three choices. The three choices are:
- OMNI – Recommended for transferring large funds. The downside is that transfer speeds are slow (from 40 minutes to 2 hours to receive money) and can get expensive.
- ERC20 – Recommended for trading options. It can take somewhere from minutes to half an hour to receive funds. Costs are slightly cheaper than OMNI.
- TRC20 – Recommended for small amount transfers. It can range from a few seconds to minutes and is the cheapest solution.
For brokers, I recommend Coinbase Pro, Blockfi, and Crypto.com.
Once you retrieve a wallet address go ahead and send the funds from your broker. Make sure you are using the correct protocol and that you are also sending the right coin to the right address. Lost coins sent are irretrievable and not refundable.
How to Open Trades
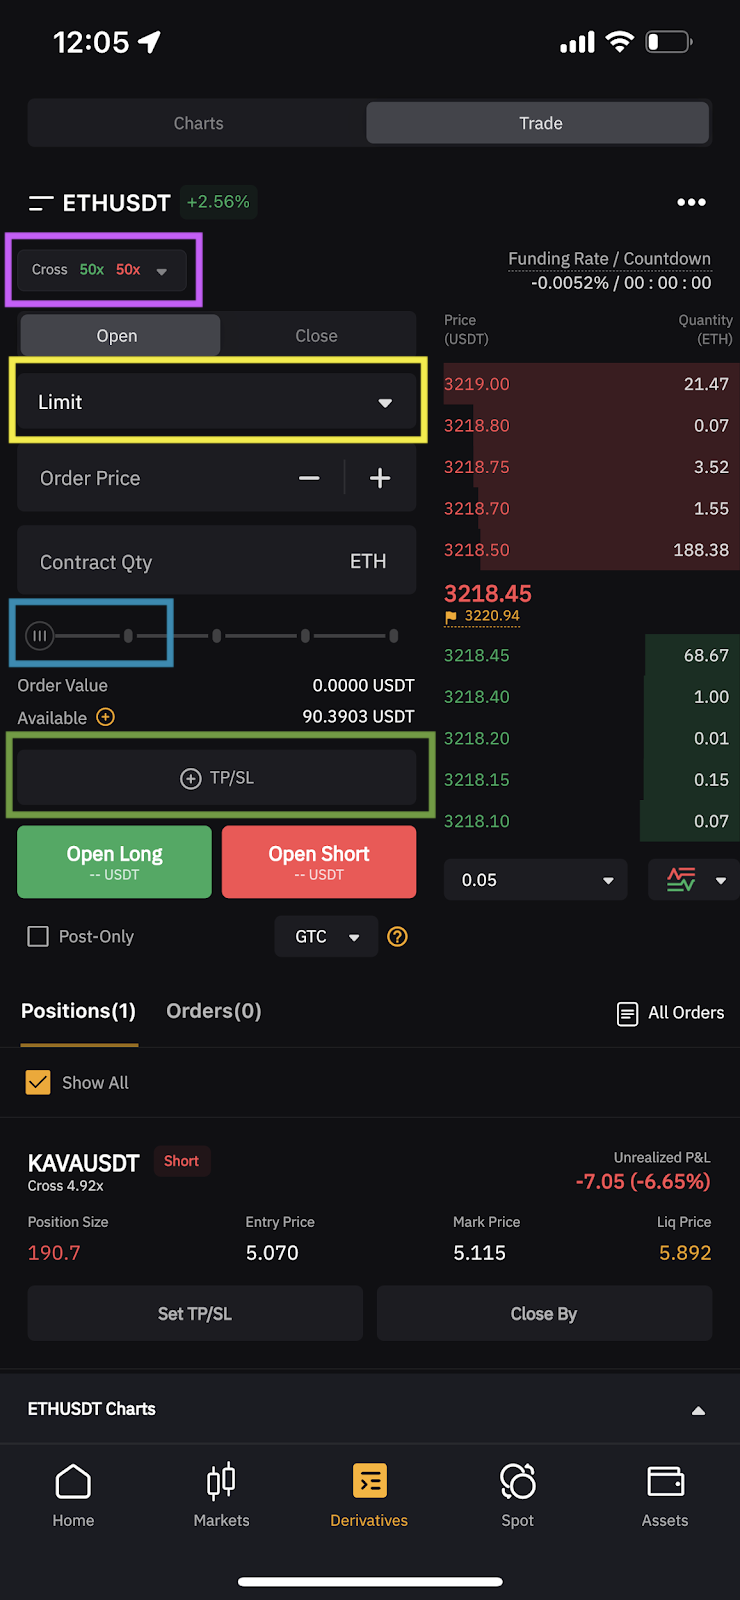
Once you have successfully funded your account, head on over to the Derivatives tab. This tab allows you to execute trades through your account. Using the screenshots below, you are able to trade using leverages of up to 50x.
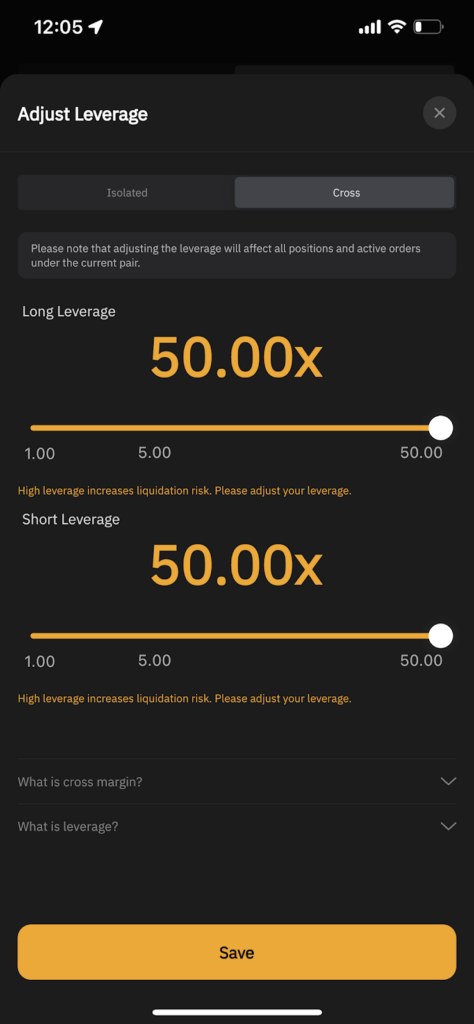
For those that don’t know what leverage is, it means you are borrowing money in exchange for the collateral you provide for a bigger trade size. When trading with leverage, make sure to trade responsibly. Heightened risks can occur when trading with money you don’t have.
To get into the Adjust Leverage screen, simply tap the drop-down menu highlighted in purple. This title can change depending on what pair you will be trading. Set a limit through the menu highlighted in yellow. The scroll highlighted in blue allows you to adjust your order size based on your assets (times leverage). Finally, you can also set your take profit and stop loss levels through the button highlighted in green.
I hope this small tutorial helps you trade in the crypto world much easier! If you have questions, please comment down below!